
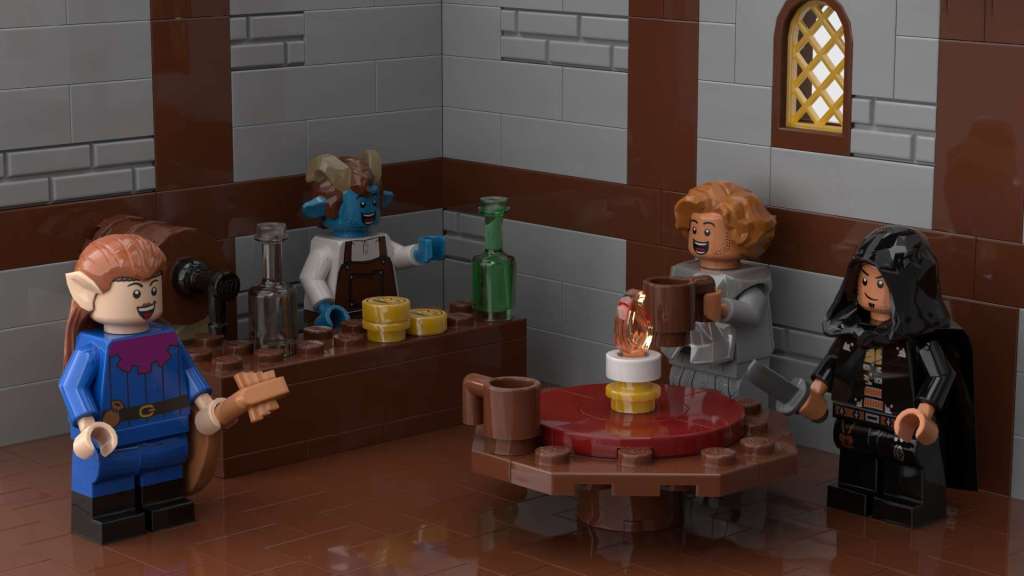
Why LEGO?
Firstly, I find using LEGO bricks and mini-figures to represent characters, monsters and terrain adds a lot of visual fun to my D&D games. My friends love to personalise their characters and are always excited to see my latest creations when the battle map comes out. Using LEGO can also be more cost effective than using plastic miniatures especially when you consider that LEGO pieces can be repurposed in a variety of ways. I personally find LEGO to be the perfect combination of fun and versatility. Now, with the preamble out of the way let’s get into the system.
The System
When it comes to D&D battle maps you are most likely familiar with the grid system. In this system each square represents a 5ft-by-5ft area which equates to the control zone of small and medium creatures and makes movement as simple as counting the number of squares and multiplying by 5. My initial thought was that LEGO would lend itself perfectly to this. However, as I experimented with various modular designs, I couldn’t find one that worked for me. In particular I found that working exclusively in grids was costly and limited my creativity when designing encounters that were outside the standard dungeon. A single green 32×32 baseplate was much cheaper than building the modular terrain pieces I had seen other people use and I didn’t like the look of marking the grid onto the baseplate itself. In the end I decided to ditch the grid (which incidentally is a variant rule in the Player’s Handbook) and opted for using a ruler instead similar to other tabletop games.
Movement
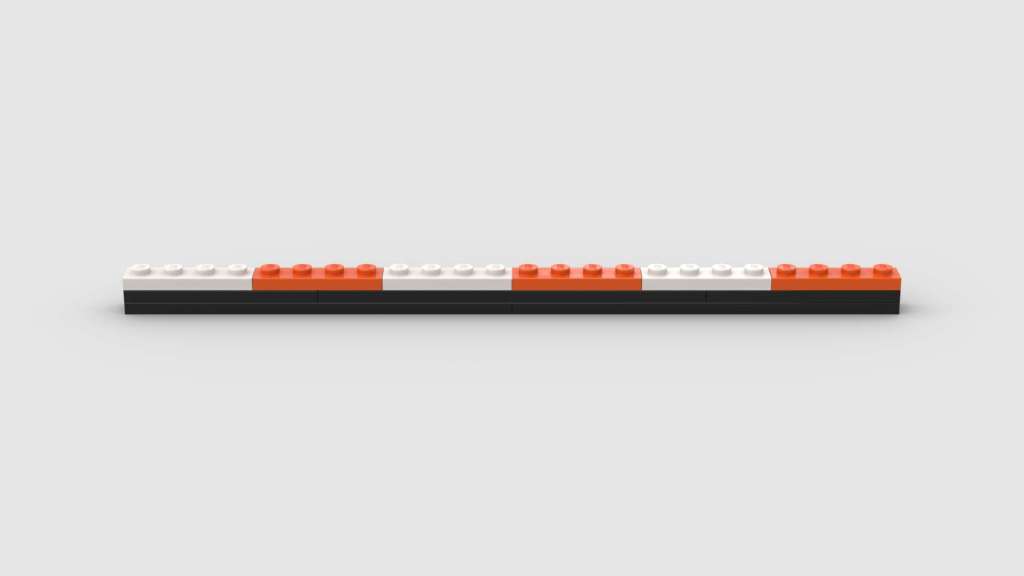
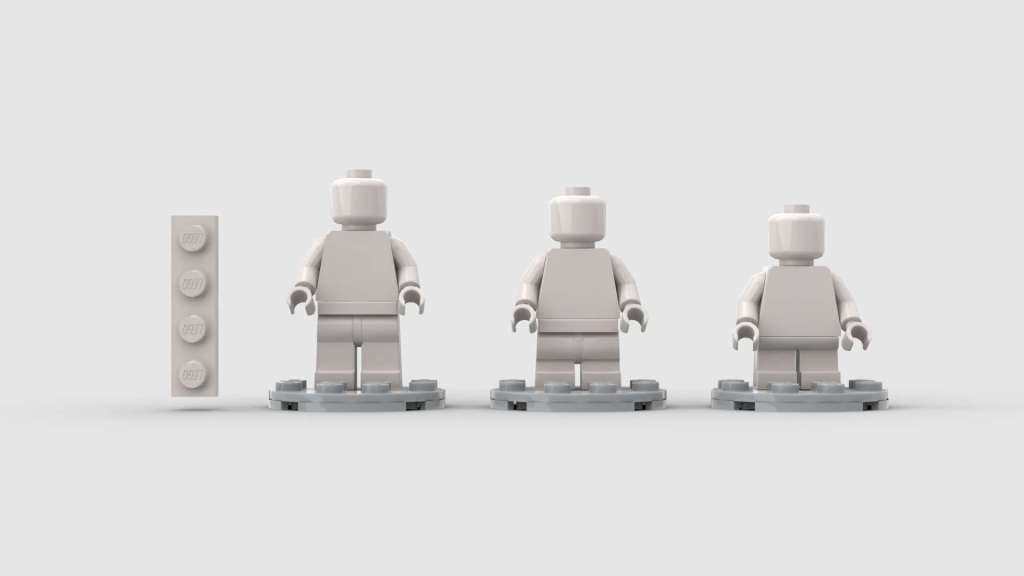
I started by creating a ruler (like the one below) using LEGO plates where one 1×4 Plate is equal to 5ft. Six of these 1×4 Plates is equal to 30ft which is the movement distance of most medium humanoid creatures in D&D. I found that alternating the colours of the plates made it easier to gauge the distances. So as creatures move around the battle map I can use the ruler to determine how far they can move in a turn.
Creature Bases
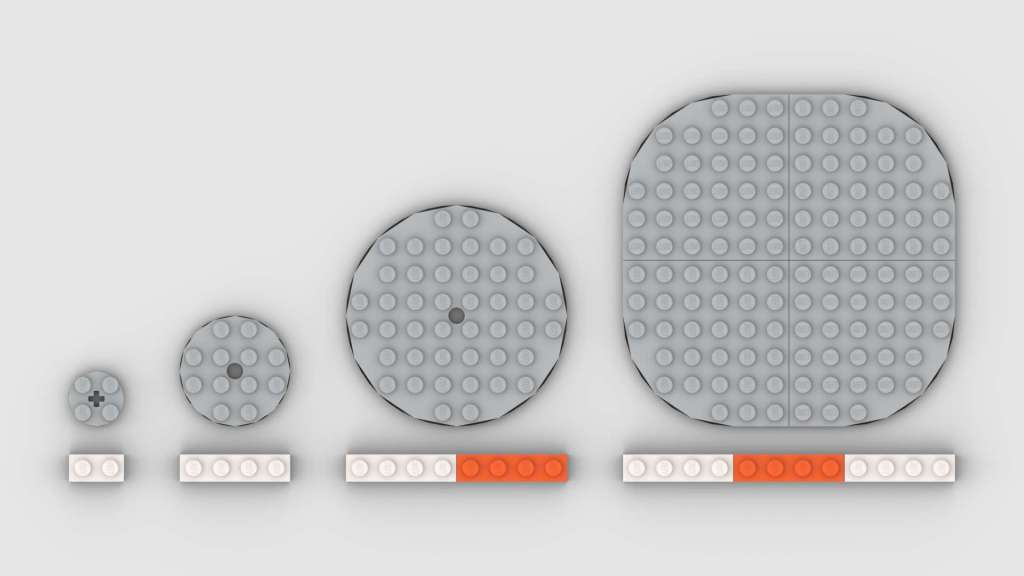
Since I had made a 1×4 Plate equal to 5ft it made sense to use a 4×4 Round Plate as the base for a medium sized creature. It was the perfect size for a LEGO Minifigure and would simultaneously indicate their 5ft-by-5ft control space. Square plates could also be used but in my opinion round plates look better.
For the other sizes I use the following:
| Size | Space |
| Tiny | 2×2 Round Plate – 2 ½ft-by-2 ½ft |
| Small | 4×4 Round Plate – 5ft-by-5ft |
| Medium | 4×4 Round Plate – 5ft-by-5ft |
| Large | 8×8 Round Plate – 10ft-by-10ft |
| Huge | 4x (6×6 Round Corner Plate) – 15ft-by-25ft |
Verticality
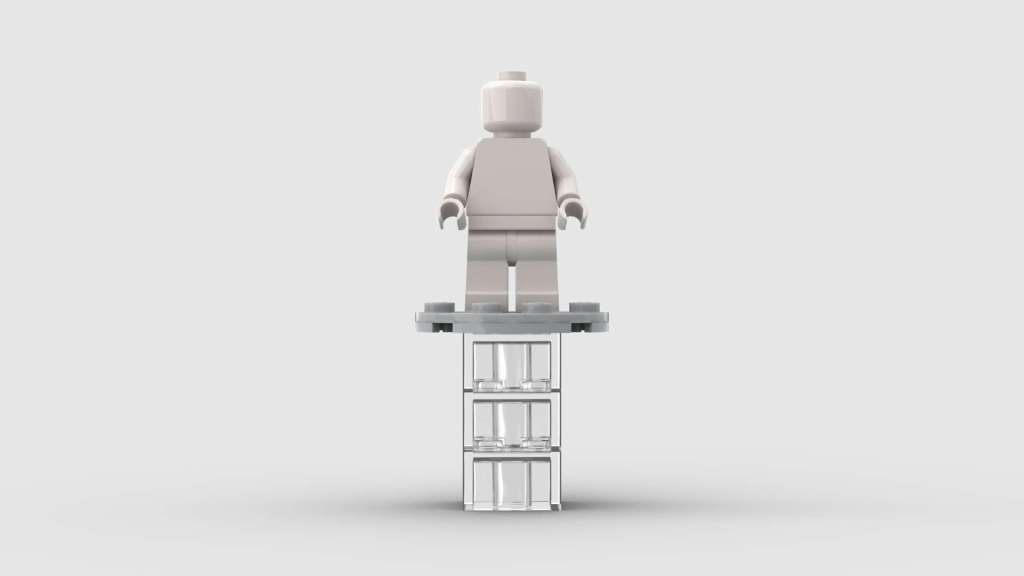
For the vertical plane and flying creatures I simply use the ruler to measure vertically. 2×2 Transparent Bricks and/or Plates can be stacked on top of each other to elevate the creature to the desired height.
Combat
Combat is as simple as following the rules in the Players Handbook. Creatures that end up in base contact with each other are deemed to be in melee as per the normal D&D rules. Ranged attacks and spells are easily measured with the ruler as well as using line-of-sight like with other miniatures. To keep combat moving quickly I only place the creatures onto the battle maps rather than actually pressing them down and connecting them to the LEGO baseplates.
Using LEGO Minifigures
A vertical 1×4 LEGO Plate next to a standard Minifigure puts them at around 6ft which works out pretty perfectly. Standard, medium and short Minifigure legs can be used for different height races. From here you can use whatever parts or accessories you have available to kit out your adventuring party or NPCs. This makes for a unique experience where players can customise their own characters and can actually equip any items they find during gameplay. I have a collection of Minifigure parts, weapons and accessories that I allow my friends to mix and match during character creation.
Monsters
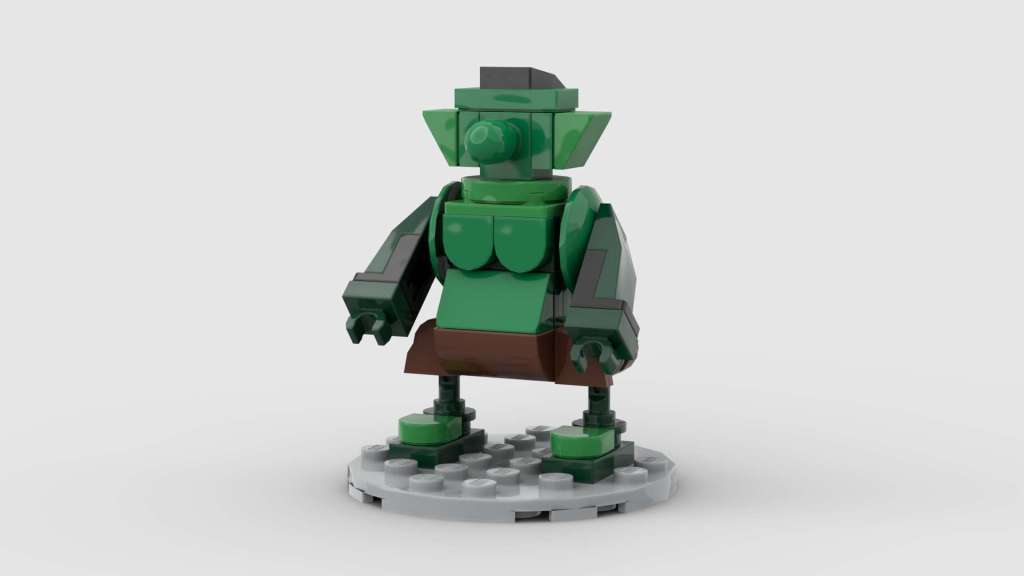
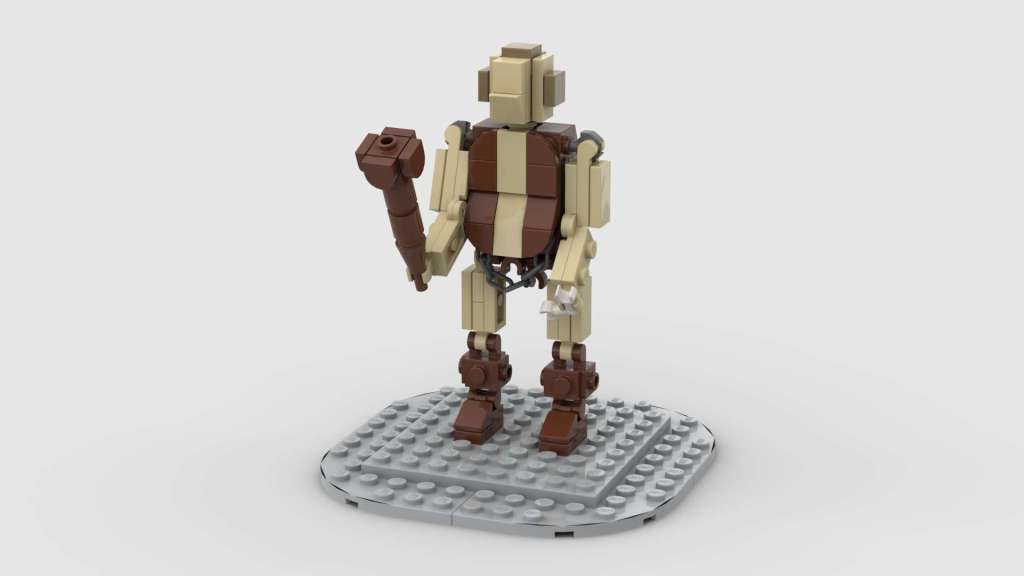
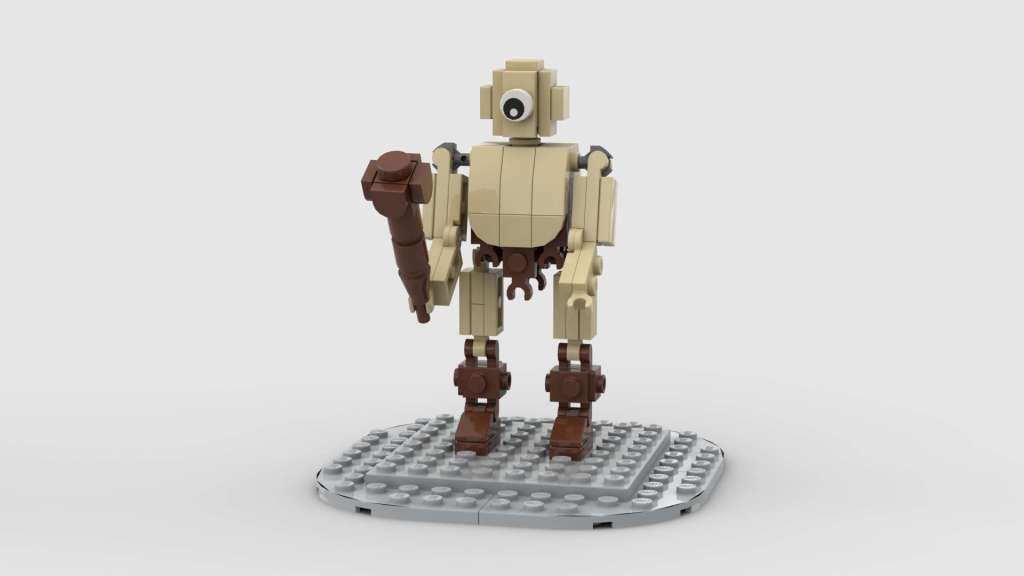
The process of creating monsters, though admittedly difficult at times, is what I find most enjoyable about using LEGO to play D&D. It is extremely rewarding seeing my friends faces each time I reveal a new creation. Once the creature has been used in my campaign I can part it out for other creations or hold onto it if I think I will use it again in the near future. I found using 1×1 Round Tiles with Alphabet prints (or different colours) a great way to tell the same creatures apart. If you are looking for some inspiration why not check out my creations (like the troll below) in my Monsters List.
Terrain
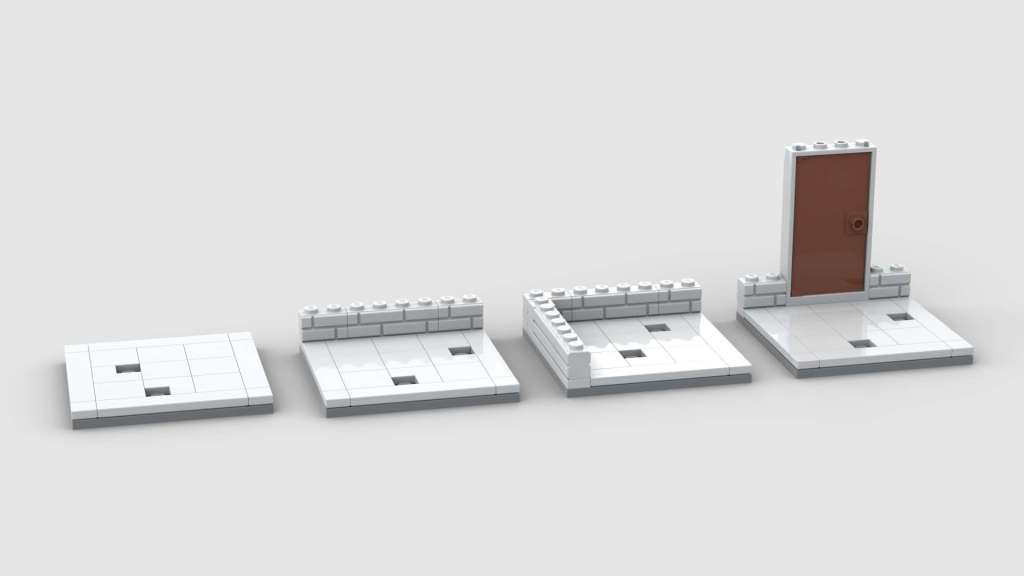
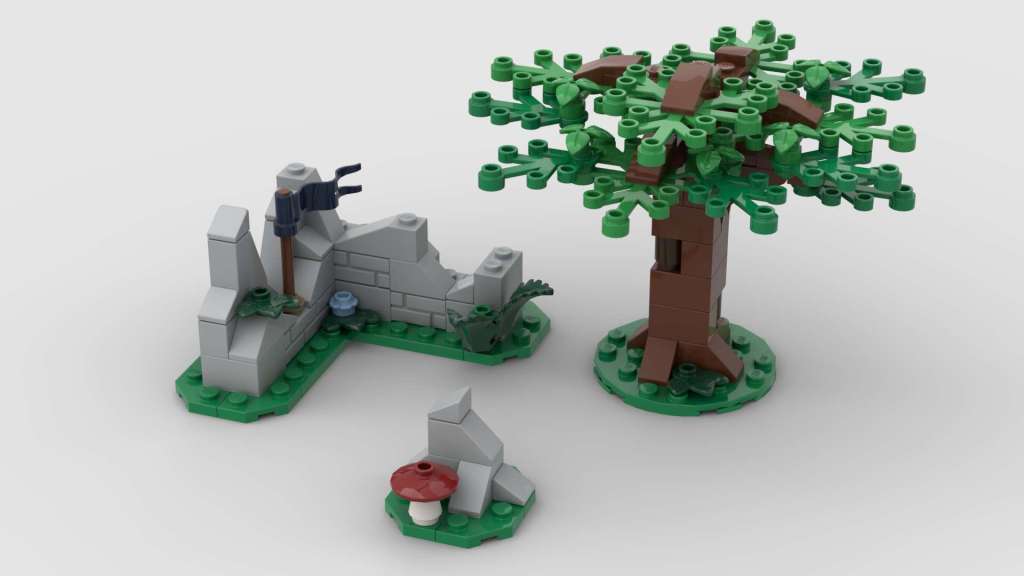
Overtime I have created a number of different modular terrain pieces including modular dungeon pieces. I have also started to create trees, dungeon clutter, furniture and other useful pieces that can be used to detail battle maps. Some of them I use quite frequently while other pieces are built for specific maps and get parted out once they have been used to build my next creation.
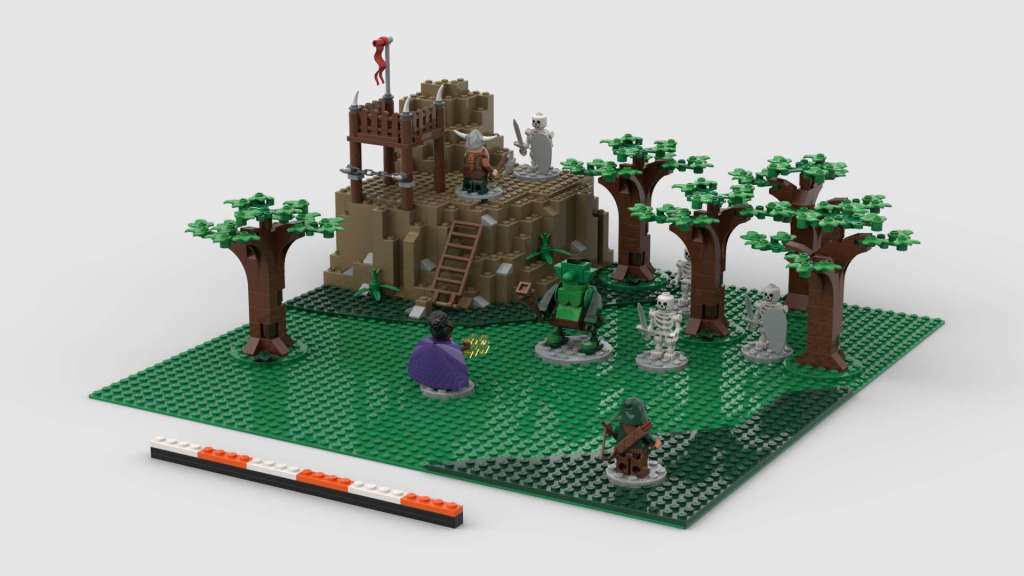
Putting It All Together
Overall, this method allows for a very quick battle map set up. Grab some Minifigures, a baseplate and some terrain pieces and you have a battle map. Once the battle is over you can move parts to other maps or part out sections for another purpose. And that’s really all there is to it. Use whatever LEGO you have available to make your maps as detailed as you would like.
If you would like to show your support why not buy me a coffee?

Leave a comment